What’s the most valuable part of your laptop or desktop computer?
If you answered the processor, or the graphics card, or even the display, I’m sorry to say that you’re wrong. Unless that is you’ve had them gold plated or something silly like that, in which case all bets are off.
No, the most valuable part of your PC or Mac isn’t the hardware at all, even though it might seem like the obvious answer because it cost you real money.
The most valuable part of your computer is your own data, whatever that data is.
It could be business files, personal photos, email correspondence, that half-written novel you’ll finish one day – anything like that.
You might be thinking that maybe your half-finished novel isn’t that great and not worth much at all compared to even the cost of a simple computer mouse. However, the reality here is that any hardware part is replaceable or upgradeable if it’s lost or destroyed.

If you lost your documents, they may very well be irretrievable. Even in the case of fire or accidental laptop drops or similar, while there are data recovery services out there that might be able to assist, the cost of that recovery can run into hundreds or even thousands of dollars.
That’s why your own data is easily the most valuable part of your computer. So how can you protect that investment?
It’s a simple enough process, but it’s one that many of us don’t bother with because it’s seen as dull or difficult. It doesn’t have to be either – and it sure beats the alternative panic scenarios when (not if) something goes wrong with your computer!
Where should I backup my data?

Online (AKA the “cloud”)
Online backup allows for a lot of flexibility if you must recover your files, because you can do it from just about anywhere to any device. For reputable providers, as long as you keep paying your storage fees your files are securely held, so a large scale disaster (like a house fire) wouldn’t wipe them out.
However, cloud storage does rely on uploading your files online, which may make some business users nervous. Upload speeds on most devices are glacially slow, so backing up all your files could take literal days to complete. Typically, those services only look for file changes once the initial backup set is created, so it’s quicker after that, but you can’t expect it to magically have your files minutes after setting it up.
The durability of cloud backups is a big plus, but when you do need recovery, it’s also quite likely to be slow coming back down to you, relative to the internet speed of your connection. That might not be so vital to just get hold of otherwise lost digital photos but could be critically more important for business files.

Local backup
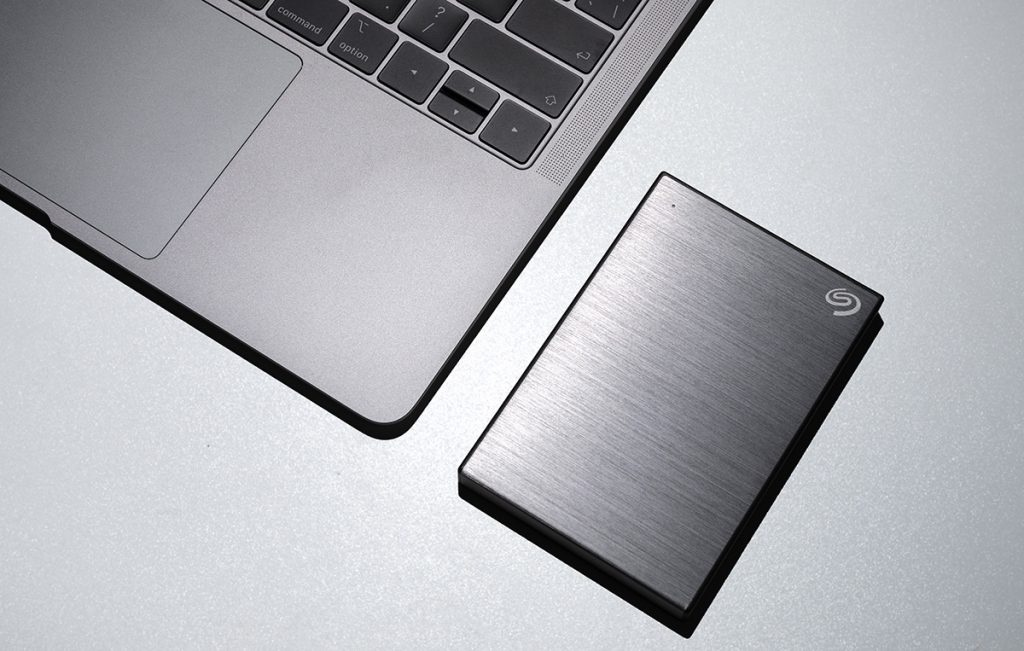
The alternative is to use some kind of local backup media. This could be an external flash drive, hard drive, or writing to an optical DVD or writeable Blu-Ray disc, depending on your needs and preferences.
The advantage of local backup is that it’s a usually quicker, limited only by the copying speeds of your computer and the backup medium itself. It’s also typically faster to recover, as all you need to do in most cases is connect the drive (or drop the disc in the reader) and recreate your data files from there.
The downsides for local storage are that it’s inherently more fragile; a house fire or flood that takes out your laptop will probably not be kind to the hard drive sitting on the same desk at the same time. This kind of backup also has the same eventual failure probability as the drive within your computer, although you can always opt for more complex NAS-style backups to provide a little extra security there.
How do I set up automatic backup on a PC?
If you’re using a cloud service for backup, many of these will have their own software for backing up your files.
If you’re backing up locally from a Windows PC, there are third-party applications, but you can just use Microsoft’s own File History tool to create a rolling backup file on an external device such as a hard drive or flash drive. Here’s how:
- Press Start
- Open Control Panel – you can type this in or select it if it comes up in the app list
- Select System & Security
- Click on File History
- Click on ‘Save Backup Copies of Your Files with File History’
The default that Microsoft uses is to back up pretty much everything in your standard files and libraries folders, but if you don’t want to back up specific folders or you have them organised in an unusual way you can select specifics here, as well as choosing the backup drive to save to.
No, you can’t save a backup to the same drive the files are on, because that would defeat the purpose. What you can do is choose how often Windows looks for new files to back up, under Advanced Settings.

Recover your valuable data on PC with our professional data recovery services – trust us to retrieve your files and restore peace of mind.
How do I set up automatic backups on a Mac?
Apple’s Mac OS has its own automated backup system, called Time Machine. Again, this relies on an external drive plugged into your Mac and a small amount of setup. Once it’s running, as with Windows, it’s nicely automatic, and all you have to do is remember to plug in your backup drive on a regular basis to stay at least a little bit safer.
Here’s how to get backup happening on a Mac:
- Plug in an external drive (USB Flash, external Hard drive or similar)
- Click on the Apple icon at the top left of your screen.
- Click on System Preferences
- Click on Time Machine
- Click on Select Backup Disk, and then choose the drive you just plugged in.
- Time Machine will then periodically back up your files to that drive.
Two details to be aware of here are that Time Machine may need to format the drive you plug in; it’s best to ensure you don’t have anything you need on it before starting. It’s a poor idea to use a backup drive for other purposes anyway, so dedicate a specific drive to this purpose and you’re not likely to go wrong.
Time Machine is nicely automated and can just run in the background, but it works within the space capacity of the drive connected. It’s called Time Machine because it grabs daily snapshots of the drive and what’s on it, so you can use it to go back specifically to when a file was on your system if you just accidentally deleted a single file or group of them.
However, to manage that, when the backup Time Machine drive starts to get full, Time Machine will start to remove the oldest versions of files to make space. It’s the compromise to make sure it can always keep a relatively recent backup to hand, because that’s more likely what most people will want.
Recover your valuable data on Mac with our professional data recovery services – trust us to retrieve your files and restore peace of mind.


