From security cams to streaming dongles and speakers, Google Nest is a cutting-edge collection of smart home devices and routers. But this state-of-the-art technology isn’t real clever without a working internet connection.
To help solve your network woes, we’re providing a step-by-step guide on how to connect your Google Nest Wi-Fi Pro to your existing Wi-Fi network. And, in case you’re trying to connect a different Google Nest smart home device to the internet, we’ve got a simple guide for that, too.
What Is Google Nest Wi-Fi Pro?
Google Nest Wi-Fi Pro is an award-winning mesh Wi-Fi router offering lightning-quick wireless coverage to your entire home. The router runs on the speedy Wi-Fi 6E standard, which supports the 6GHz spectrum. Low latencies and zippy wireless speeds of up to 4.2 Gbps mean it’s twice as fast as the more common Wi-Fi 6 standard.
The product comes as a single router or a three-pack for bigger homes. The single-router Google Nest Pro covers around 120 square meters, enough for most one or two-bedroom properties. A place with three or more bedrooms generally needs a Google Nest Wi-Fi Pro three-pack.
There’s also an older version simply called Google Nest Wi-Fi, which used points instead of separate routers to extend coverage. If you’re trying to connect this previous-generation product to the Internet, follow the same instructions below.

How to Connect Google Nest Wi-Fi Pro to the Internet
Before we begin, ensure you’ve got the following:
- Google Nest Wi-Fi Pro (duh)
- An active Google Account
- A mobile device with Android 9.0 or later or iOS 16.0 or later
- An up-to-date version of the Google Home app (grab it here on Android or iOS).
- An active internet service with a modem that has a free Ethernet port
- An Ethernet cable
How to Connect Google Nest to Wi-Fi
- Download the Google Home app and set up a new home (follow the on-screen instructions)
- Choose a suitable location for your Google Nest Wi-Fi Pro. For the best signal, position it at eye level in an unobstructed place, such as a bookshelf.
- Plug the Ethernet cable into the Ethernet port of your modem and the WAN port of your Nest Wi-Fi Pro.
- Plug your Google Nest Wi-Fi into a power point, turn it on, and wait one minute until a blue light pulses (or white light for the older Google Nest Wi-Fi). If there is no flashing light, try performing a factory reset.
- Open the Google Home app on your mobile device.
- Tap Device, Add +, Google Nest or partner device.
- Choose the desired home.
- Select your Wi-Fi.
- Scan the QR code on the bottom of your Google Nest Pro Wi-Fi. If you don’t know how to scan a QR code, tap Continue without scanning and then enter the setup key located near the QR code.
- Choose or create a room to assign to your router.
- Name your Wi-Fi network and create a secure password. Pro tip: use the same network name (SSID) and password as your existing router so you won’t have to reconnect all your devices.
- Wait a minute or two for the router to create your Wi-Fi network.
Your Google Nest Wi-Fi Pro is now connected to the internet and broadcasting speedy Wi-Fi throughout your home. Test the connection in various nooks and crannies to ensure you’re happy with its coverage.

Troubleshooting Connectivity Issues
Can’t figure out why your Google Nest is not connecting to the Wi-Fi? It could be due to one of the following common connectivity issues.
- A VPN can cause problems when setting up Google Nest Wi-Fi. Temporarily disable it and try again
- Wi-Fi devices acquired in another country can have compatibility issues. Therefore, it’s best to purchase all your Google Nest devices here in Australia.
- Due to compatibility issues, you can’t combine Google Nest Wi-Fi Pro (Wi-Fi 6E) with the older Google Nest Wi-Fi (Wi-Fi 5) routers or points in the same mesh network.
- The signal could be blocked by fixtures or furniture. Position routers and points at eye level around your home in an unobstructed location to maximise coverage.
How to Connect Google Nest Devices to your Wi-Fi
Google Nest is a collection of cutting-edge home automation devices, including:
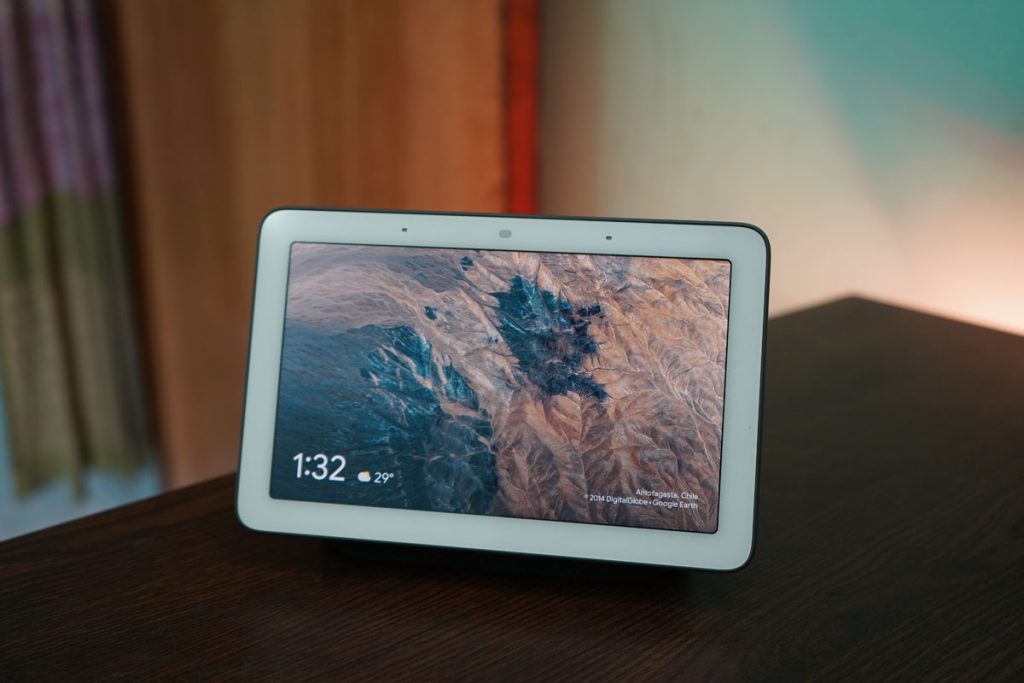
- Google Nest Hub Max Smart Display
- Google Nest Doorbell Battery
- Google Nest Cam Outdoor with Floodlight
- Google Nest Cam Battery-Powered Outdoor/ Indoor
- Google Nest Wi-Fi Pro Home Mesh Wi-Fi 6E System
These devices can only remember one Wi-Fi network at a time. However, switching between networks is a cinch.
- Note: The Google Nest family was previously known as Google Home
Connecting to a Wi-Fi network
Follow these steps if you’re connecting a Google Nest device to a Wi-Fi i network for the first time.
- Open the Google Home app on your mobile device
- Tap Devices, Add, Google Nest or partner device
- Follow the in-app steps to connect the device to your Wi-Fi
Changing the Wi-Fi network
Follow these steps if you’re switching Wi-Fi networks.
- Open Google Home
- Tap and hold down on the tile of your device
- Tap Settings, then Device Information
- Tap Wi-Fi, then Forget this network
- Follow the steps above to connect to a different network
Still not having any luck? Try doing a factory reset and setting the device up again from scratch.
Get Help from the Experts
Need a hand with Wi-Fi troubleshooting for network security? Our highly-trained Geeks will deliver customised assistance directly to your door. Contact us today.
FAQs
-
How can I connect Google Nest to a different Wi-Fi network after the initial setup?
You need to forget the current Wi-Fi network then connect to a new one.
-
How do I reset my Google Nest to factory settings?
Press and hold the factory reset button on the back of the Google Nest device for 10-15 seconds.
-
Is it possible to connect Google Nest to a Wi-Fi network without using the Google Home app?
No. You must use the Google Home app to connect a Google Nest Device.
-
How do I start the setup process for Google Nest?
Download the Google Home app and add a new device.
-
What should I do if Google Nest fails to connect to Wi-Fi?
Try resetting the device to factory settings.
Look for a location without too much glare and align the centre of your TV to eye level from a seated position. commended for gaming, as most games are designed with a landscape orientation.
Related Services
Geeks2U Computer Support Services
Laptop Repairs
Whatever the brand, whatever the issue, there’ll be an technician desperate to get their Geek on and get your laptop back up and running.
Computer Upgrades
Breathe new life into existing devices with our upgrades services, including hardware installation, upgrading drivers and RAM.
Software Installation
The Geeks can help you with installing and configuring operating systems such as email, Microsoft Office, Antivirus, Adobe and more.
or complete our form today to set up an appointment with a computer repair technician


